
It’s been a little bit since our last post, sorry for the delay! We went to Mexico with some friends for a well-needed and 3-years-in-the-making vacation. It was a wonderful time except for the fact that we both got sick after (not COVID) and have only just started recovering enough to be able to post. Luckily the delay means we have so much more to share about our garden with you!
One of the things that we knew was essential to us living a productive and sustainable life on the farm is being able to grow our own food. That said, Sylas and I have never grown anything from scratch in our lives. We didn’t even know what to do about getting seeds, never-mind how to plant them after starting them indoors.
The entire process of learning, technically, what to do took me over a month. I googled planting in Ontario to see the best timeframes and then I had to come up with a plan.
Planning
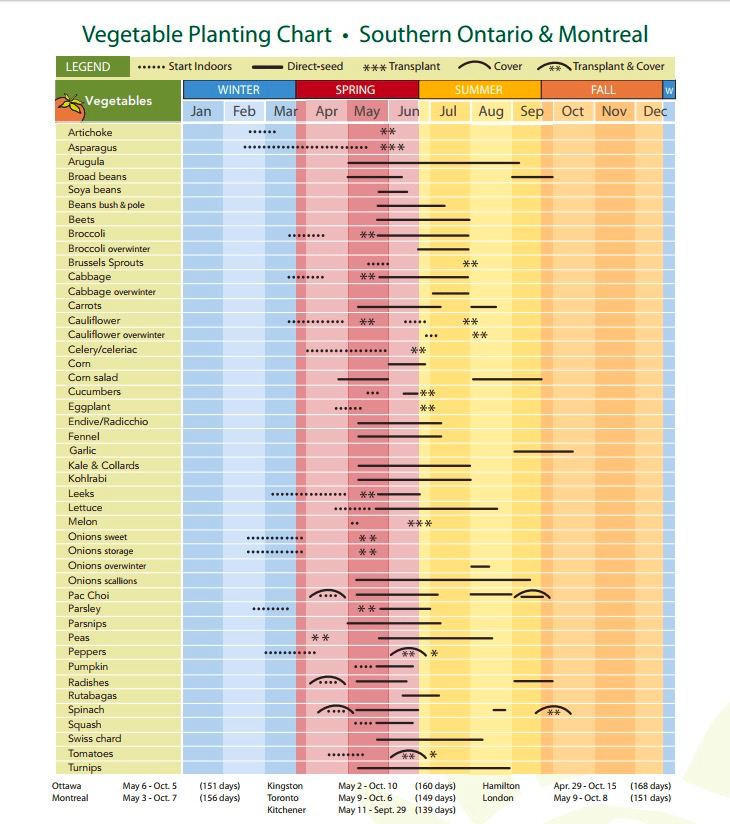
When it came to planning for our garden I literally had no idea what I was doing. I was able to find some Ontario specific resources that made it easier to plan what types of vegetables but I didn’t even know how to purchase seeds. I found this chart, I don’t remember where, but it gave me a good idea of what plants thrive in Ontario and when to transplant them outside. This was for SOUTHERN Ontario, but what can really be that different right since we live close-ish to Montreal? (That probably sounds super naive)
Seedlings
After I found this document I purchased seeds that matched the kinds of vegetables I wanted to grow and made a calendar of when I would start them indoors. I decided on two batches as follows:
APRIL SEED STARTS
- Cabbage
- Cauliflower
- Celery
- Tomatoes
- Lettuce
- Peas
- Spinach
- Pumpkin
- Zucchini
MAY SEED STARTS
- Cucumbers
- Carrots
- Beans
- Beets
- Kale
- Green Onions
We may also try to start some corn outside in June, but are currently undecided on that. We purchased some seedling trays to start them in and setup a shelf inside with lots of sun. More on that later.
Garden Beds
Once we had planned everything we needed to start the seeds, we had to start thinking about what kind of garden beds we would use. We were going back and forth between building our own raised garden beds or purchasing something that would be “better suited” and more likely to work out. Sylas nor I are that handy and are just learning to use tools or work with wood, so we ultimately decided to purchase some raised garden beds.
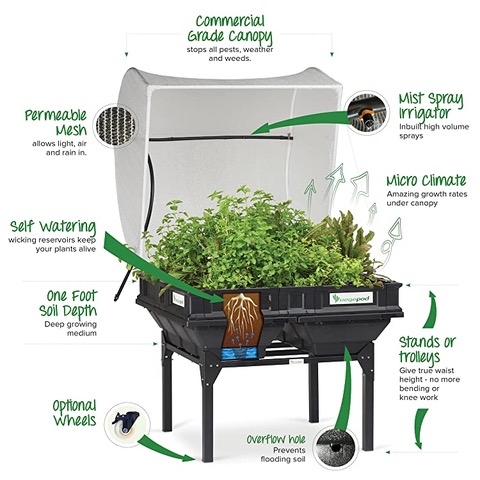
During our research into garden beds, we stumbled across Vegepods. Yes, the ones that were features on Shark Tank and no, we are not sponsored by them. These beds are self-contained, self-watering using a wicking system with a hose attachment and timer for dry-spells. They also keep pests out using their commercial-grade canopy cover. Additionally, they sell a stand separately so you can garden at waist height and for someone with leg, hip and back issues that sounded right up my alley.
For more information about these garden beds, feel free to visit their product features page by clicking the image below.
Growing Seeds
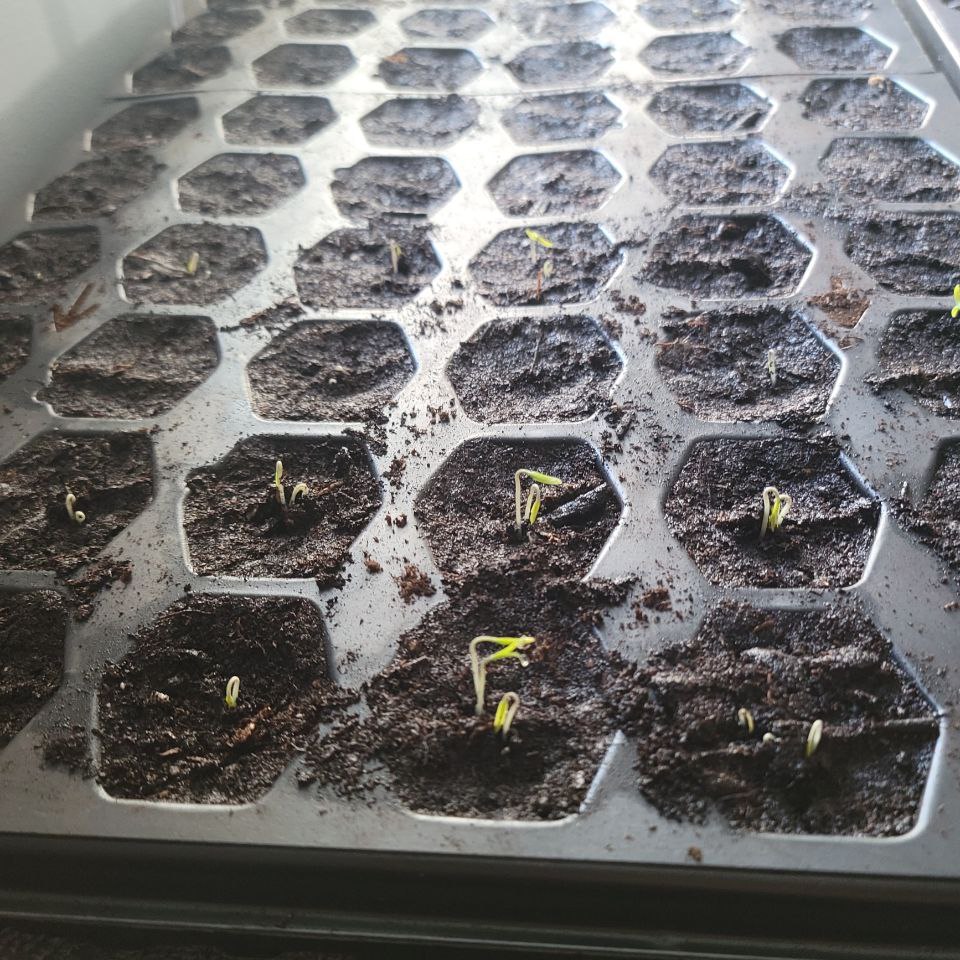
Well, it was certainly an adventure for us planting and monitoring our first seedlings. You know that feeling you have when you have a new pet and you just want to be around them all the time and make sure they’re thriving? That’s how I felt with my seedlings. I was checking them all the time, checking the soil, making sure they were getting sun, and still there were some missteps. Gardening is definitely more of an art than a skill!
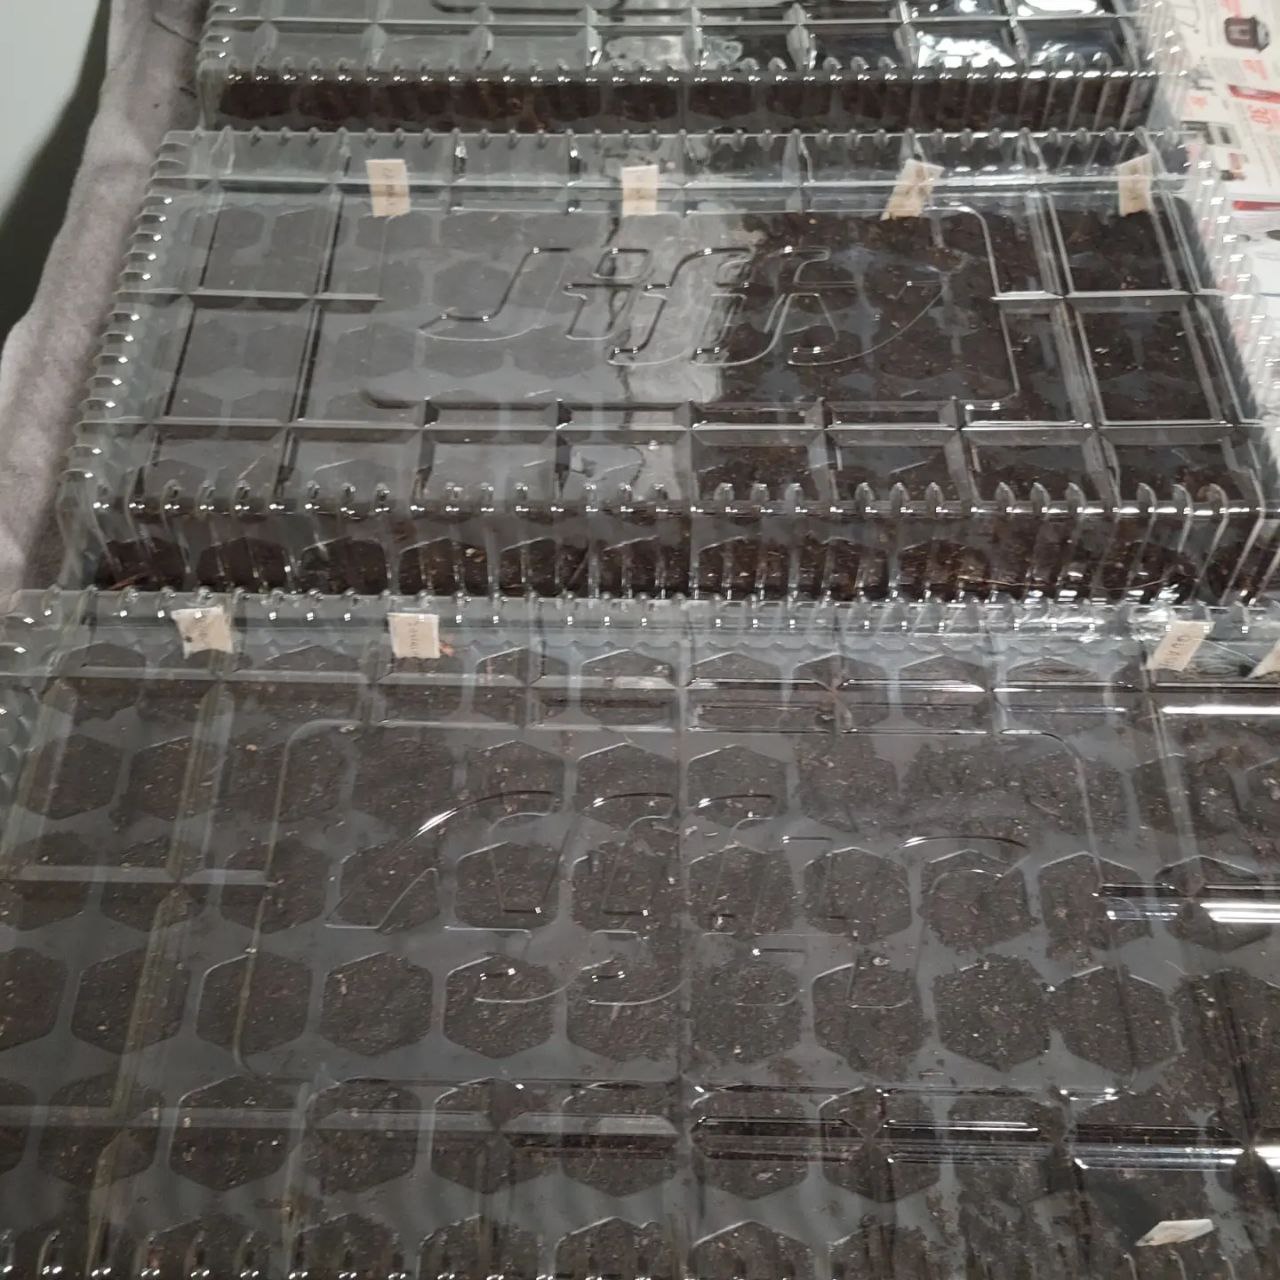
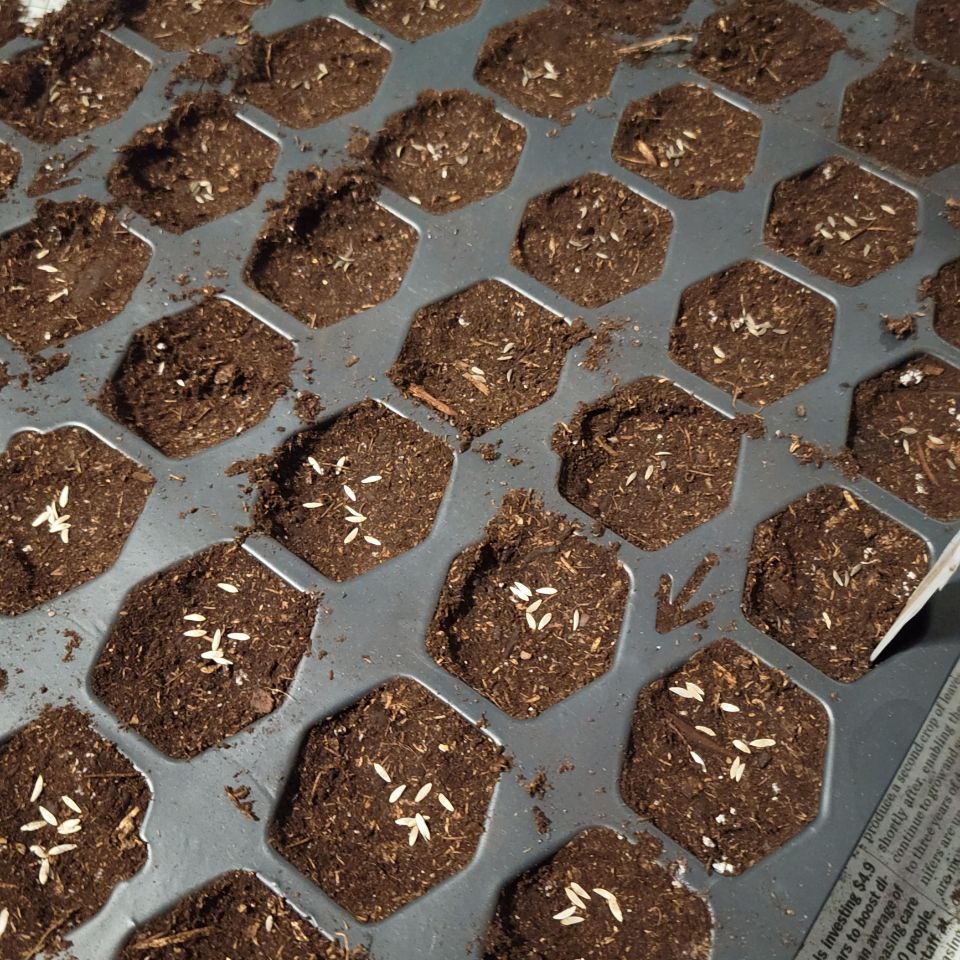
First, we found vegetable potting mix and filled up some hex starter kits with “greenhouse” domes. Then we had to figure out which depths to plant each seed (since the chart didn’t say) and how many to plant in each hole. This part wasn’t so difficult and Google helped tremendously.
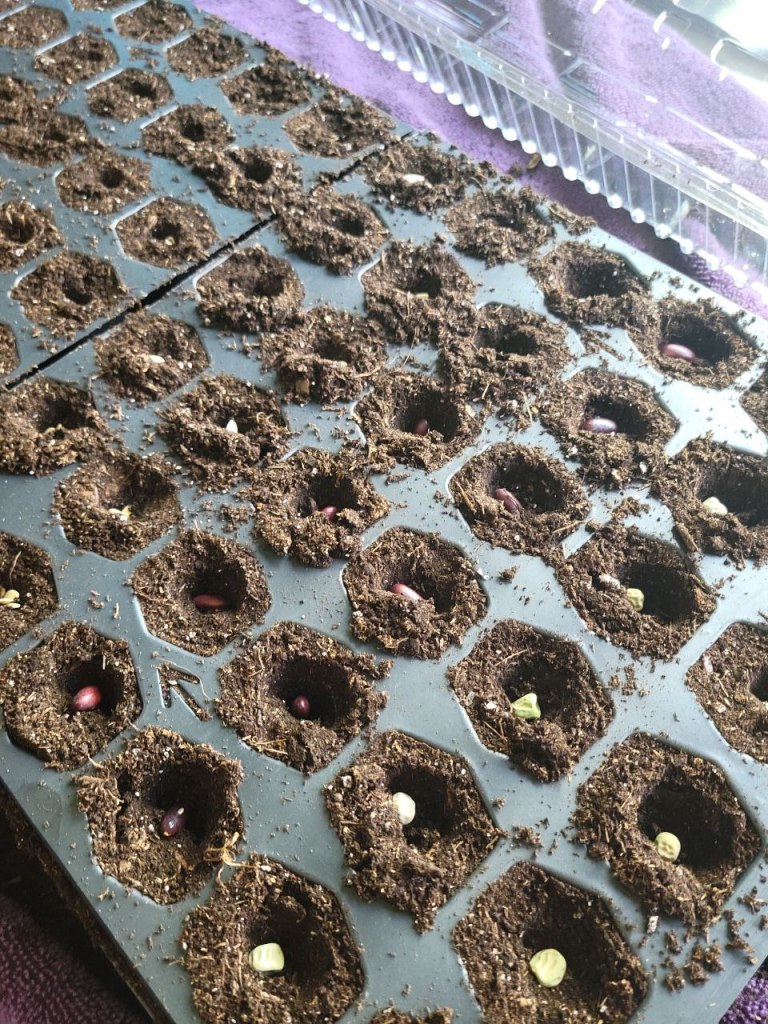
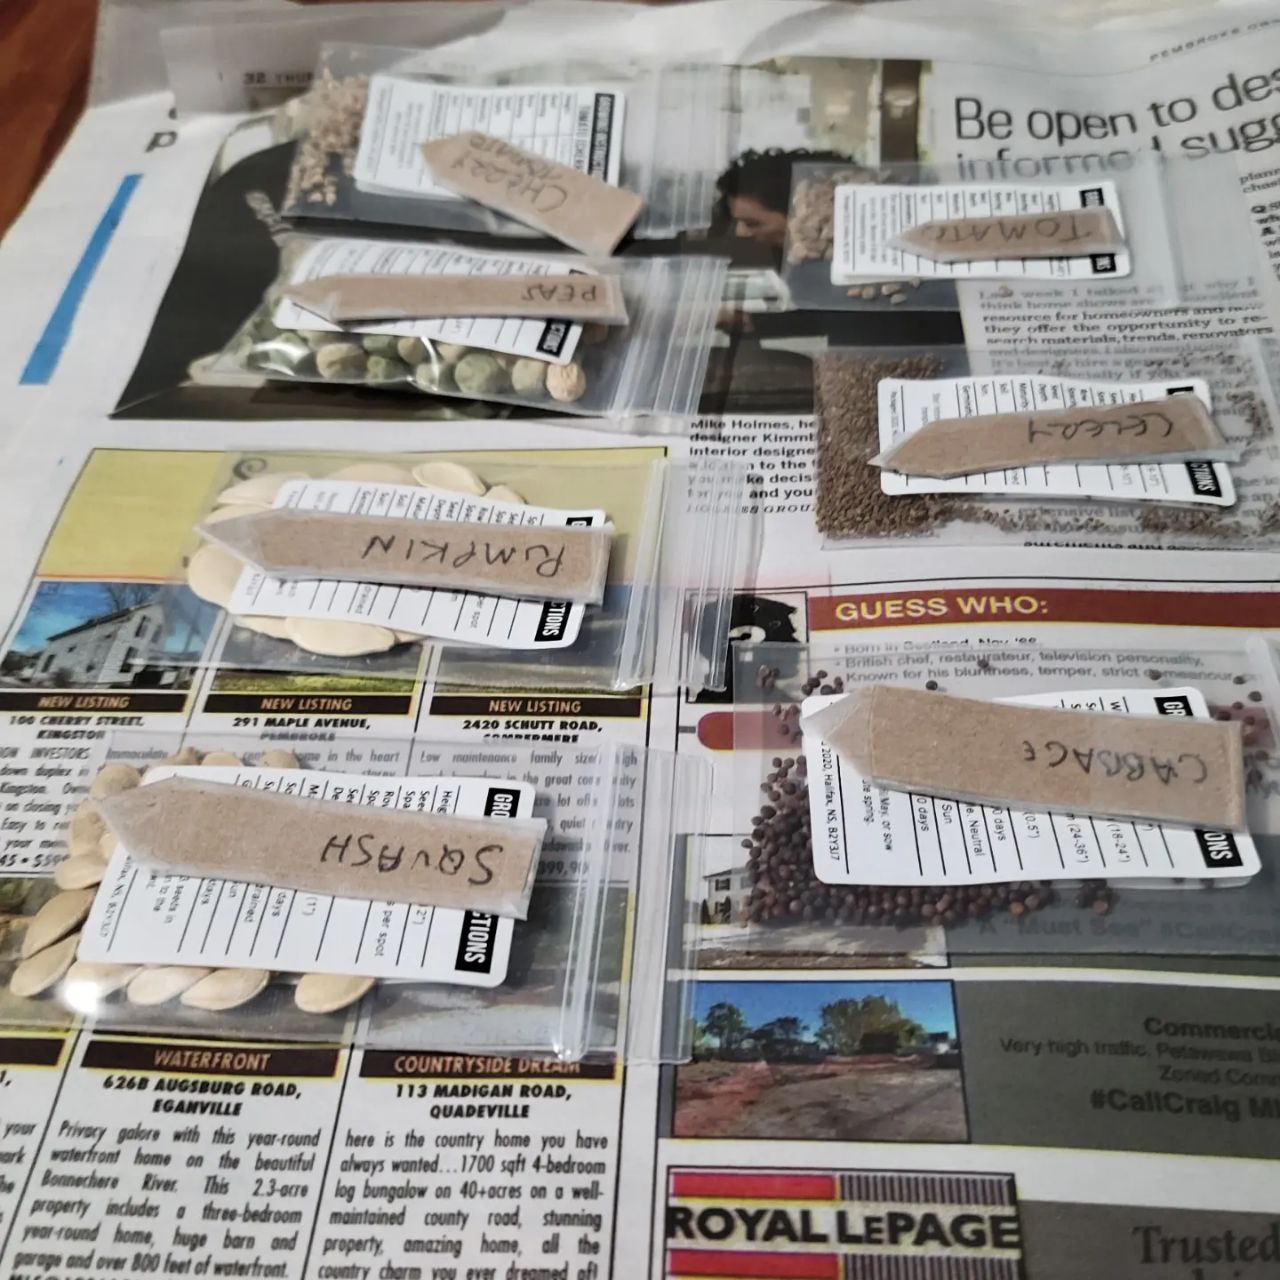
Once the seeds were planted in each hole, we made labels for each one and set them up on a shelf that we had made to stand up in our sliding glass door for optimal light. The window faces West so they were getting good light for at least the afternoon hours.
These particular seed start kits that we purchased were self-watering and cheap, but we did later learn that self-watering is not the best for plants that need less water (lettuce etc).
Transplanting
Once the seedlings have established roots and are hitting the tops of the greenhouse covers it’s time to transplant them (as long as you’re beyond the last frost). We spent the week after Victoria Day, May 24 if you’re not Canadian, setting up our Vegepods and relocating our plants. Sadly, only our tomatoes, celery, and pumpkins really thrived so we were only able to move those. Our lettuce, cabbage and cauliflower became wispy which I believe means we were giving them too much water.
First we built the vegepod, we got the large one, and it was massive. Then we filled it with ~400L of potting mix and then we moved the plants over, setting up trellises for our delicate tomato plants.

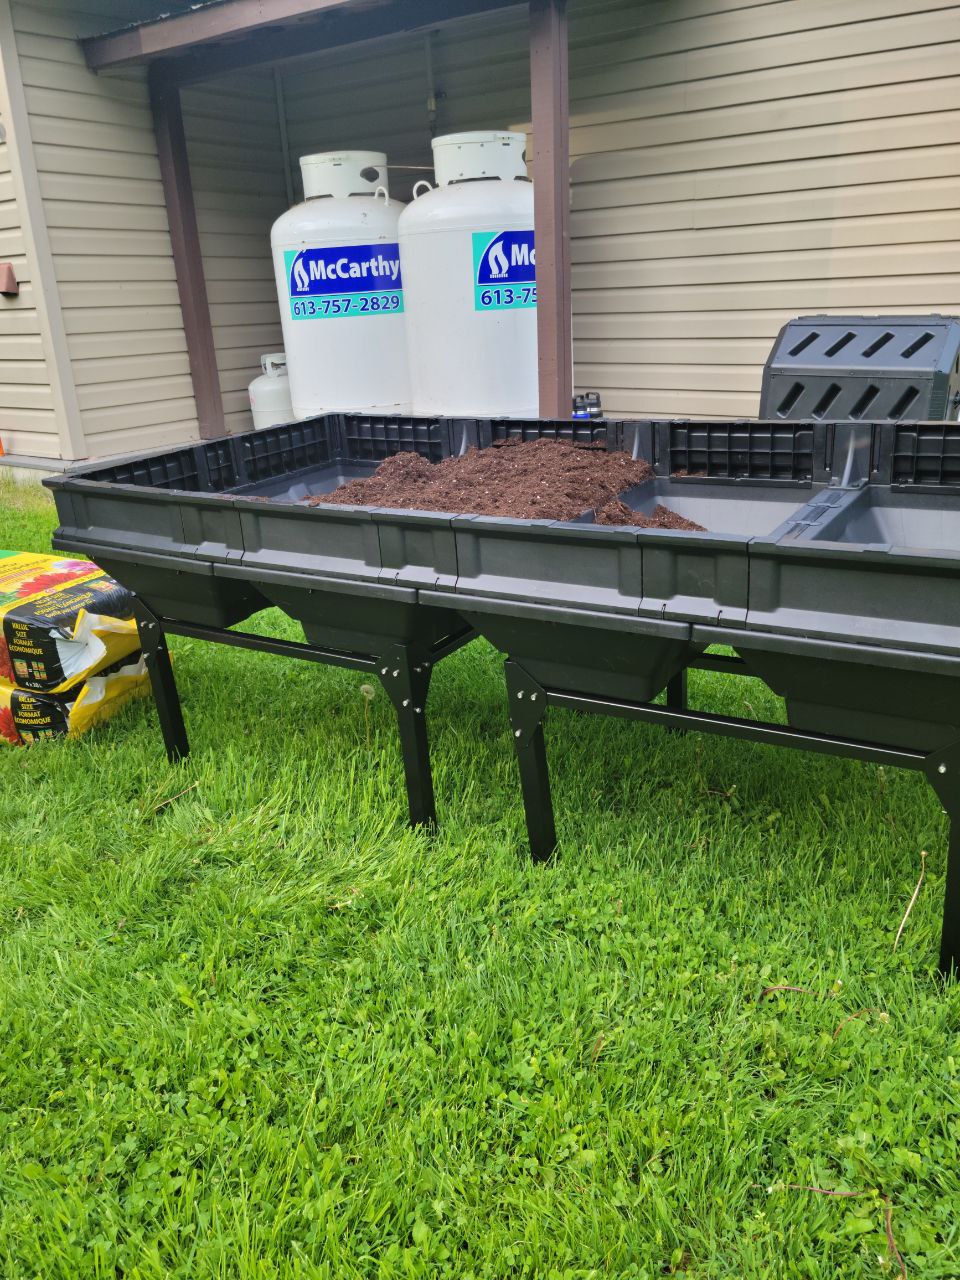
Once the plants were in, we gave the soil a good 10-minute mist soaking and then put on the cover. We later learned we should have soaked the soil for 20-minutes but to compensate we’ve been monitoring the soil moisture and watering daily for 2-3 minutes per “garden bin” (as seen in the picture above).
We don’t really have an update on the status of these plants yet, but everything seems good so far. As mentioned before, we are definitely beginners when it comes to gardening so if you have any tips, please feel free to share them!

I’m so excited to hear how these come along! Looks like you’ve been on quite the journey trying to grow your own green thumbs! 🙂
LikeLike